From Mood Board to Pattern: Planning Your Crochet Projects
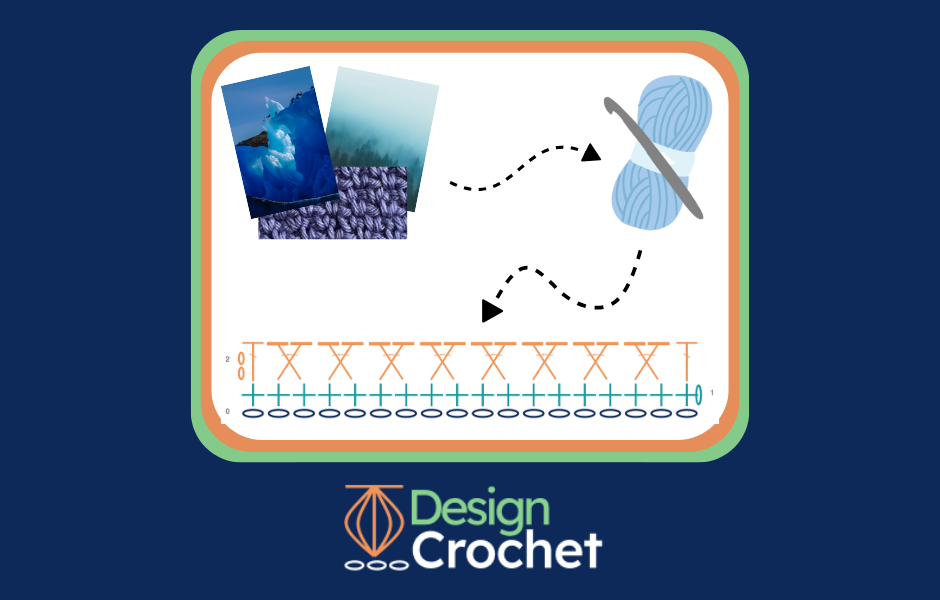
Starting from scratch when making your own crochet project can be intimidating, especially if you’ve never made a pattern before. With so many moving pieces, it can be hard to know where to start. At Design Crochet, we understand your frustrations and make it easy to go from idea to finished product. Using our suggestions and software, we can take you from beginner to expert in no time!
Step 1: Create a Mood Board
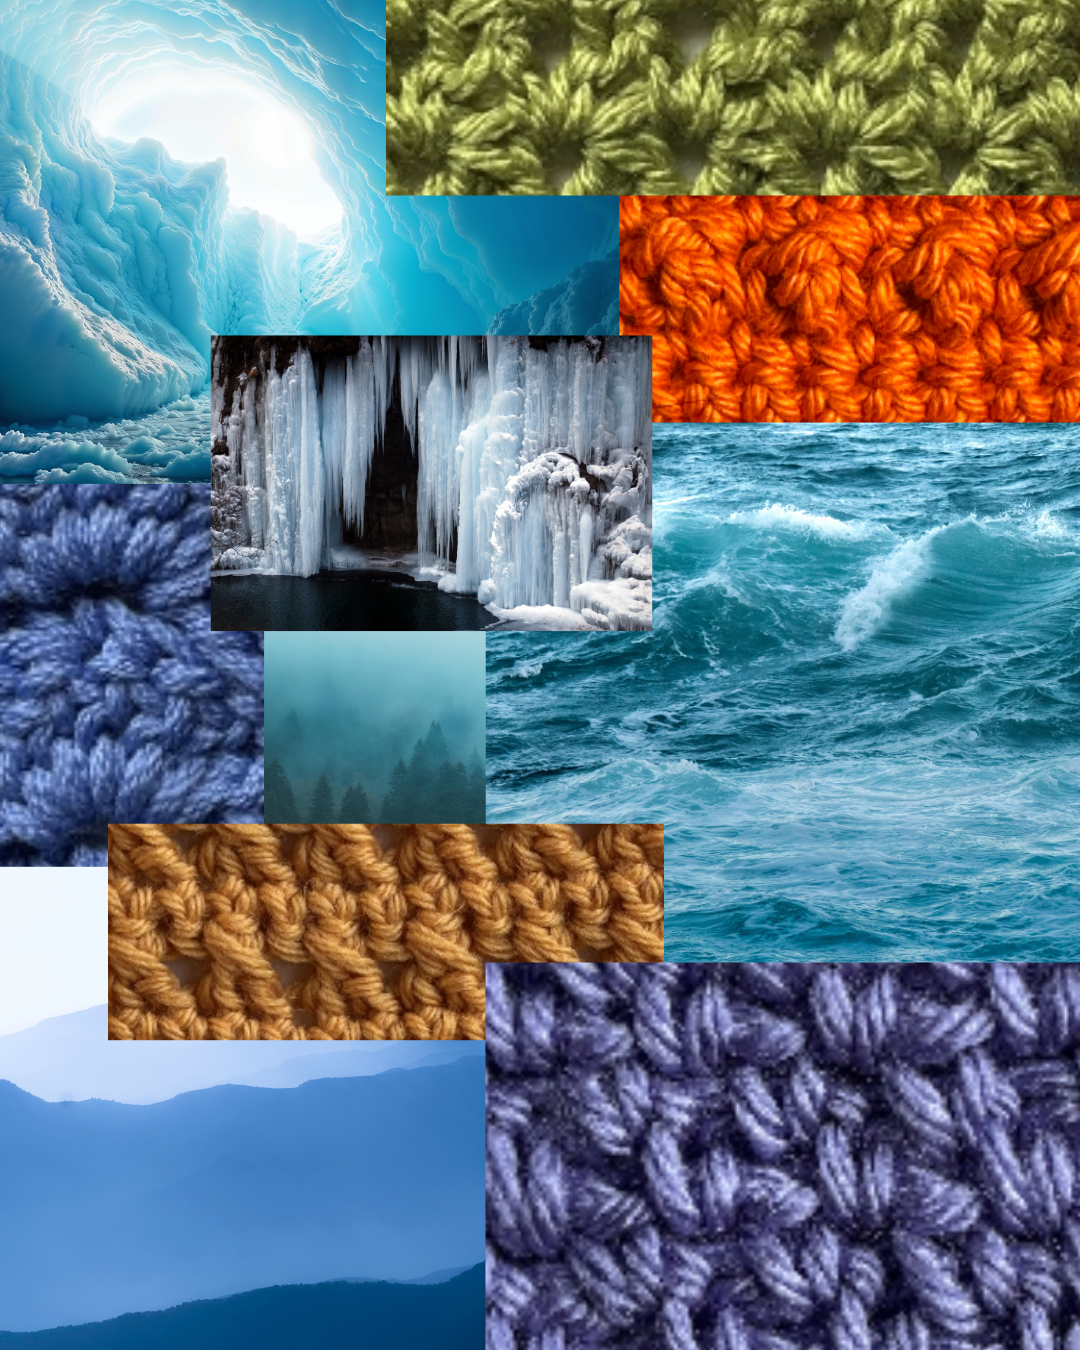
Making a mood board can help to solidify ideas and guide where you want your project to go. Use sites like Pinterest to organize your inspirations. Find pictures that spark your imagination and help you design your project.
Image Ideas
- Textures
- Colors
- Vibes
- Patterns
- Stitches
Here's a suggested mood board for a scarf:
Step 2: Choose Your Stitches
Now that your creativity is flowing, it’s time to select the stitches for your project. Design Crochet’s Community Stitch Dictionary is a great place to look for inspiration and tutorials with its large catalog of stitches.
Tips for Choosing Stitches
- Use one stitch to keep things simple
- Use multiple stitches to add variety and texture
- Mix new stitches with familiar ones to challenge yourself
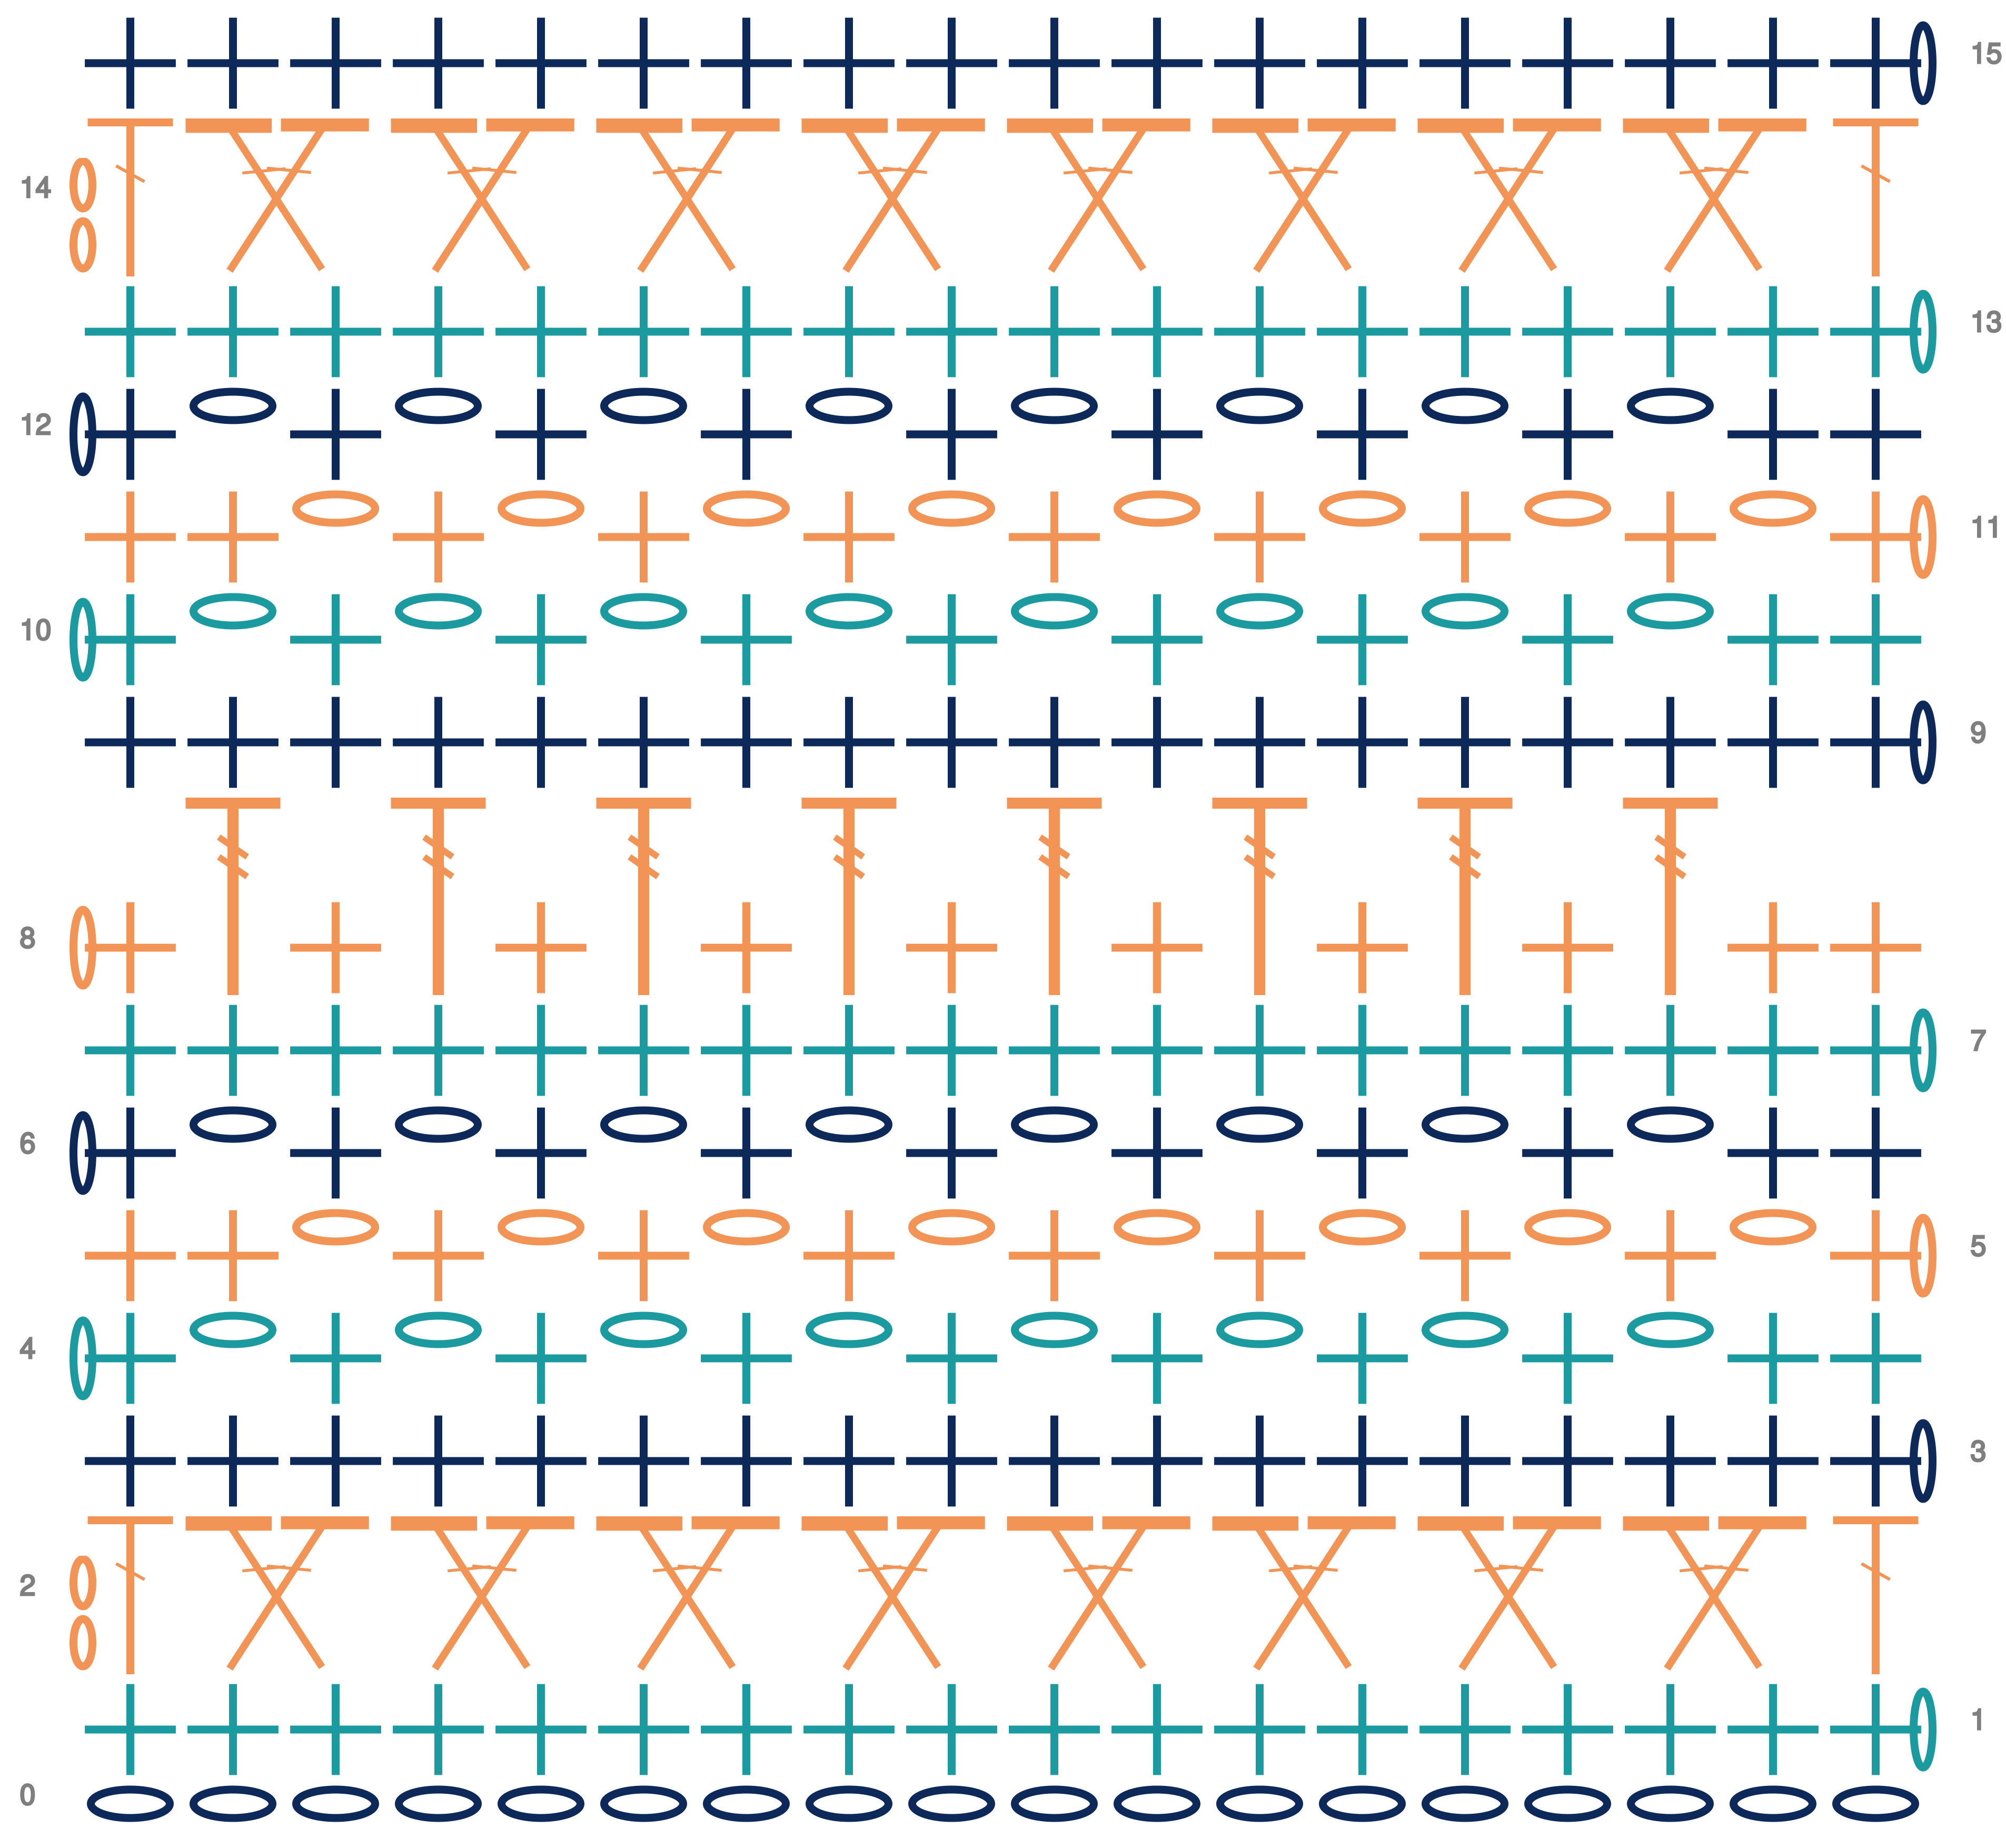
Let’s try the crossed double crochet, moss, and mock bubble stitches for the scarf.
Step 3: Select Materials
It’s time to select your project materials. Gather your yarn, hook, and any other bits and bobs you may need. Use the Yarn Estimation Tool from Design Crochet to approximate how much yarn you’re going to need.
The scarf will use a worsted (weight 4) yarn and a 5mm (H/8) hook.
Step 4: Design Your Pattern
Once your materials are ready to go, you can start creating your project pattern. Design Crochet’s pattern builder makes this an easy process for both beginners and experienced crocheters alike.
Pattern Builder Features
- Input stitches row by row
- Automatic diagram generation
- Easy to customize stitches and their placement
- Built-in help with AI Assistant and Quick Reference in the Workspace
Here’s a scarf pattern using the three stitches mentioned earlier:
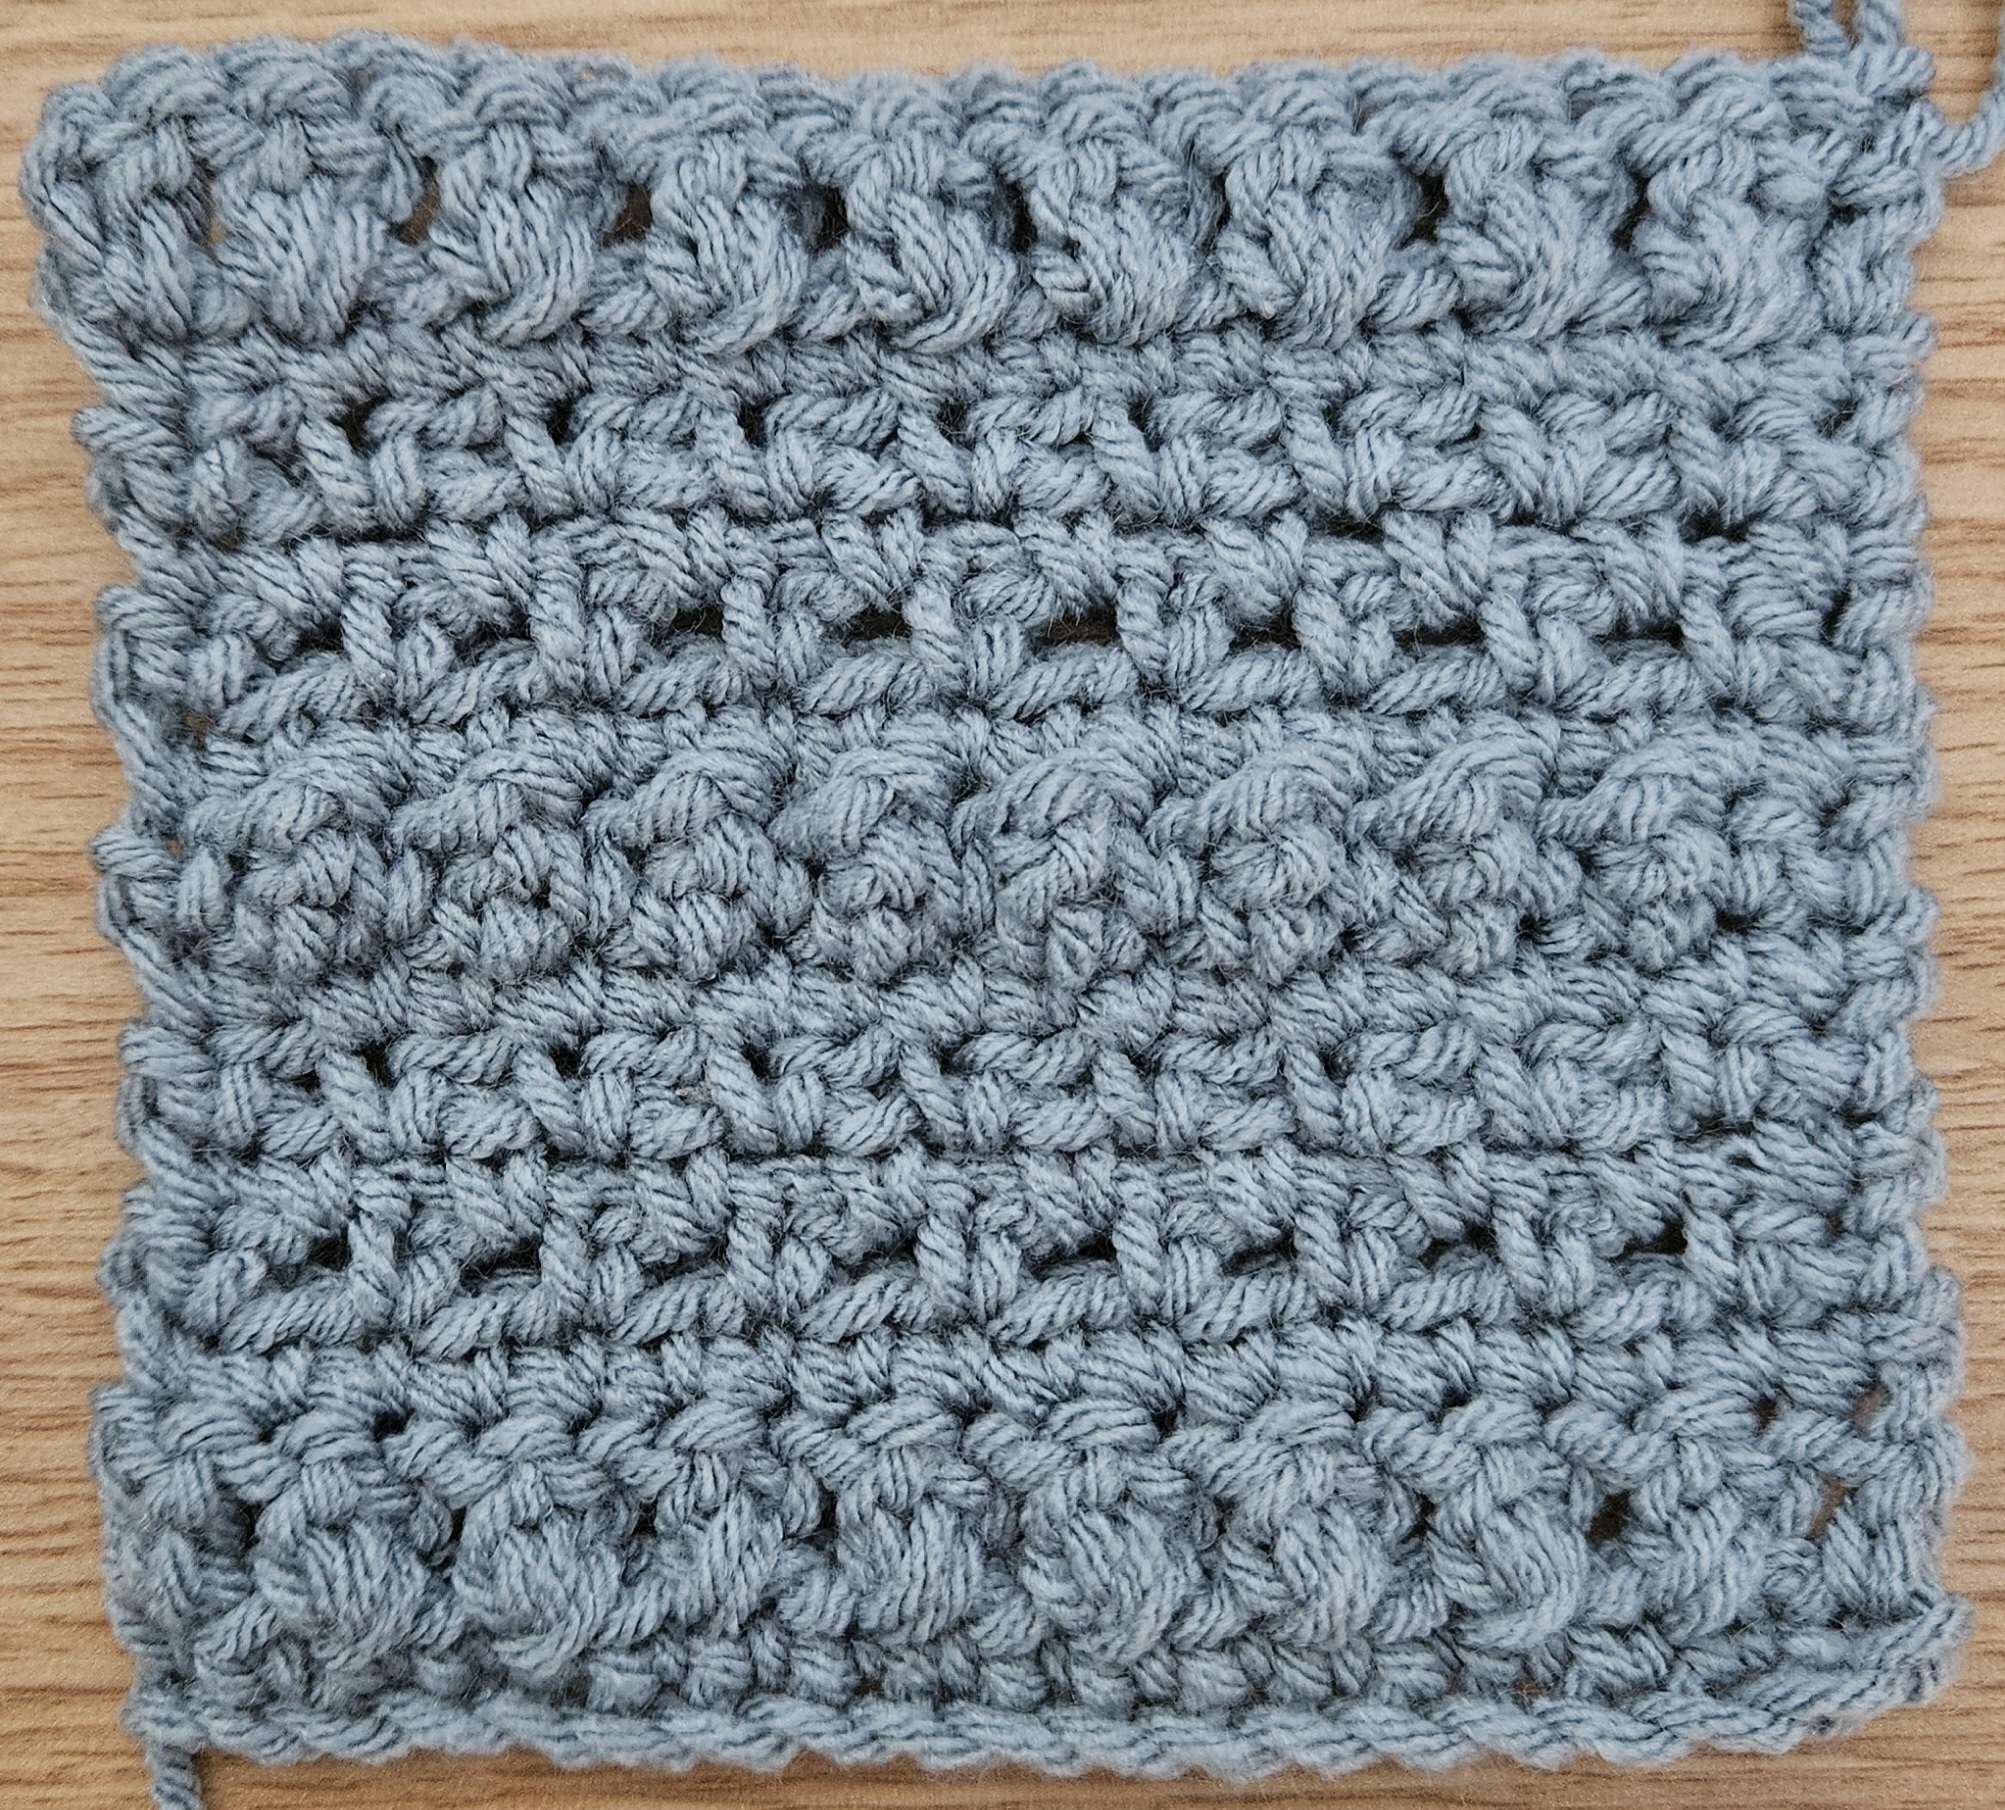
Step 5: Start Crocheting!
The fun part is here! It’s time to actually start crocheting your project. Follow your pattern and turn your project from a dream to a reality. When you finish your project, tag us at #TheDesignDownload on Facebook or Instagram! We’d love to see what you made, and let us know what projects you’re planning for the future.
Although there isn’t a full scarf, here’s the swatch made using the pattern:
Ready to plan your next crochet project?